
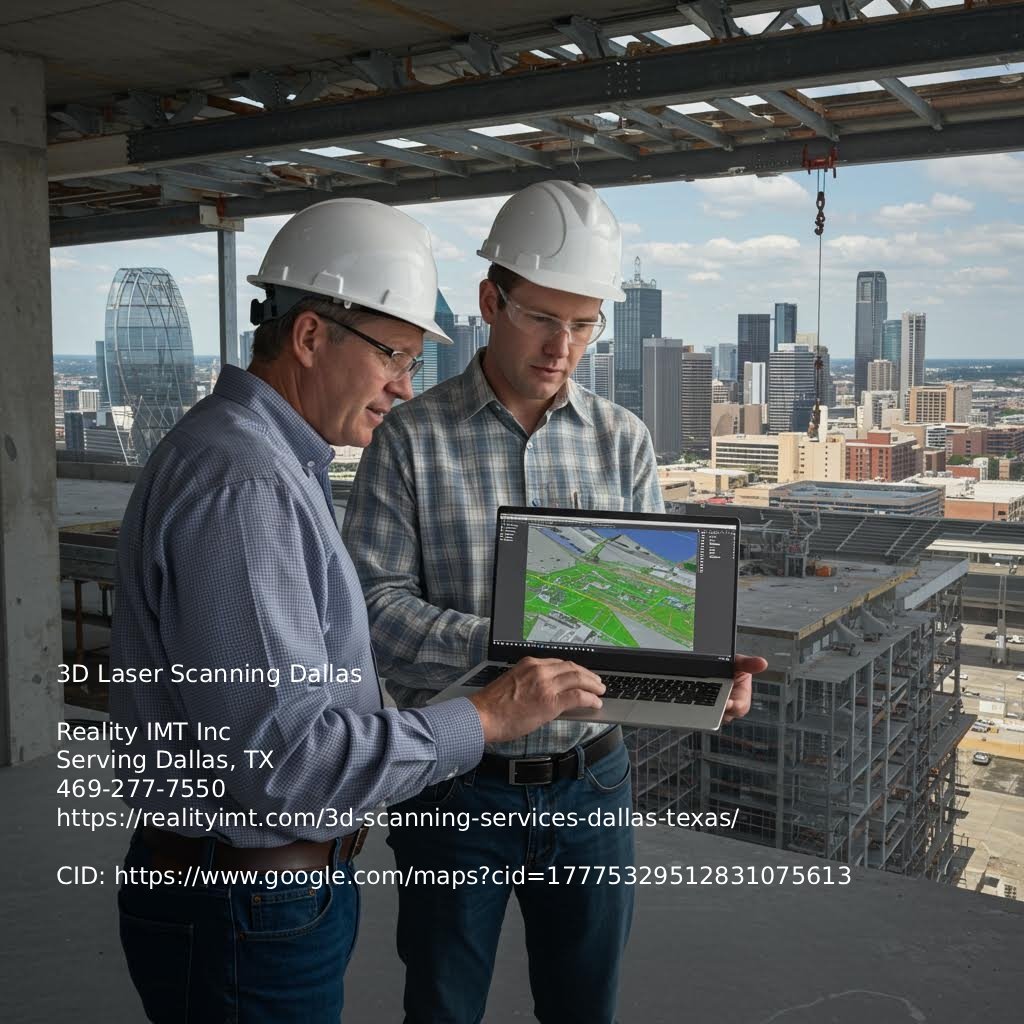
3D laser scanning sees heavy use in commercial projects around Dallas because it delivers fast, accurate measurements. With older buildings, original drawings are often missing or wrong. Scanning fixes that. It creates a point cloud that captures the exact shape of the space, down to the millimeter. Walls, floors, ceilings, and MEP systems all show up. You can pull floor plans, elevations, and sections from the scan or build a full 3D model.
This helps a lot with office renovations. Engineers and facility managers want fewer surprises when they open a wall. Architects need to see what’s there before designing. Contractors want to avoid rework from bad assumptions. A good scan makes that possible.
In Dallas, speed matters. Projects move quickly, and teams need accurate as-builts early. Scanning usually takes a day or two on-site for most office spaces, depending on size and layout. But accuracy depends on how the scan is done. Common mistakes include bad alignment between scans, missed areas, or low-resolution settings. These can throw off measurements and cause design issues later.
If you manage buildings long-term, scan data becomes part of your records. If you need accurate site data for your next project Dallas 3D laser scanning company delivers high-precision models that help reduce errors and streamline project workflows.. That helps with planning, maintenance, and upgrades. The key? Get it done right the first time. Work with people who know how to scan and understand how the data will be used.
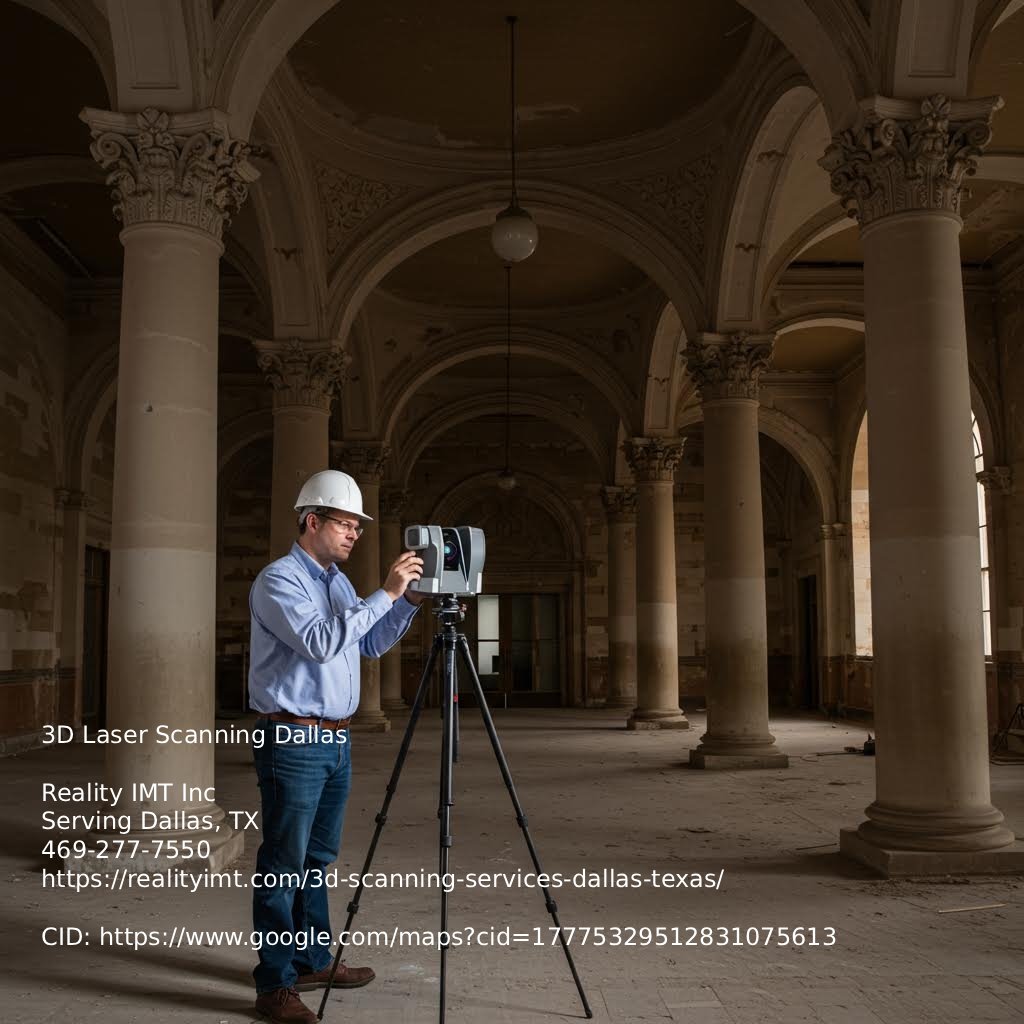
Commercial 3D laser scanning captures real-world conditions with millimeter-level precision. Architects and engineers need reliable geometry before starting design or renovation work. If measurements are off, it leads to costly errors like misaligned walls, HVAC clashes, or incorrect floor elevations. Scanning avoids those issues by capturing a full spatial dataset, far more complete than tape or total station methods. It’s especially helpful in older Dallas buildings with missing or inaccurate drawings. The scan gives a current, exact view of the structure, including undocumented changes.
Laser scanning speeds up documentation. Instead of spending days measuring or revisiting the site, crews can scan a full building in a few hours. Processing the data takes time, but overall, it saves weeks. That matters for contractors and developers on tight schedules. Design teams also benefit—fewer site visits and faster access to measurements. That means quicker decisions and fewer delays during planning.
MEP engineers, structural teams, and interior designers need accurate as-builts to avoid design conflicts. A scan gives everyone the same base model, helping prevent overlapping systems or layout errors. Knowing where beams and ducts are keeps pipes out of impossible spaces. The digital data is easy to share, which helps teams work better together. Everyone works from the same model, reducing miscommunication and improving design quality.
After construction or renovation, scanned data helps facility managers with space planning, maintenance, and tracking. Instead of relying on memory or old drawings, they can use accurate 3D models to find systems or measure spaces. In large commercial offices, this saves time and cuts down on mistakes. In Dallas, where many buildings are being retrofitted for energy upgrades or tenant changes, having detailed records makes those updates easier.
Bad or missing data during planning causes change orders, rework, and delays. That adds cost and stress. 3D scanning helps avoid those problems by giving teams a verified model of current conditions. It’s especially helpful in renovations, where hidden issues can throw off a schedule. Scanning spots those early, so teams can plan better and make fewer changes in the field. For developers and contractors, that means fewer surprises and more predictable results. Here is why it matters: better planning leads to smoother builds.
Before any commercial 3D laser scanning, plan carefully. If you're scanning an office in Dallas, start by defining the scope. What areas need scanning? Just the interiors? Roof? Mechanical rooms? Decide early, or you risk missing data and delaying the project.
Next, check access. Can your team reach all areas? That includes after-hours access if the building stays open during the day. Talk to property managers early. Some buildings have tight security or require escorts. Don’t assume you can walk in with gear.
Get the right permissions. Some buildings—especially downtown—require permits to bring in gear. Others may ask for insurance certificates from your provider. Handle this early to avoid legal delays.
Skipping these steps leads to missed data, extra visits, and frustrated teams. Want accurate as-built documentation? Do the prep right.
Safety comes next. On active sites or in older buildings, make sure your crew knows the required PPE and that the site is safe for walking with equipment. If ceiling tiles need removal or you need access to electrical rooms, schedule that ahead of time.
Timing matters. The best time to scan is when the space is empty, but that’s not always an option. You may need to scan on weekends or overnight. Plan for that.

When scanning a commercial office building in Dallas, your hardware choice and how you use it shape the accuracy of your as-built documentation. Not all scanners work the same. In tight corridors, reflective surfaces, or complex MEP areas, use a laser scanner that captures high-resolution data with low noise. Aim for millimeter-level precision. Devices like the Leica RTC360 or FARO Focus offer a good mix of speed, accuracy, and portability.
Resolution matters. You need it for details like exposed ductwork, ceiling grids, or partition walls. Low resolution can miss key features. That leads to bad floor plans, skipped utility lines, or wrong ceiling heights. Match scan settings to the space. More detail takes longer, but it helps when working with MEP engineers or planning a renovation.
Field data must be complete. Cover all rooms, vertical shafts, ceiling voids, and service areas. Don’t assume “good enough” will work. It won’t. Gaps often mean return visits, which cost time and money. Use proper registration targets or SLAM-enabled scanners in areas with limited access or poor visibility.
Here is why this matters: match your scanning method to the building, use the right resolution, and get full data the first time. That helps architects, contractors, and facility teams make solid decisions.
When scanning commercial office spaces in dense cities like Dallas, accuracy matters. Architects, engineers, and contractors rely on your models to make real decisions. If a wall is off by half an inch, it could throw off MEP routing or cause a prefab piece to fail. So, always include accuracy checks in your process.
Start by checking your registration. If you're combining multiple scans, keep alignment errors within the right range. Most projects aim for 1/4" or better, depending on the space. Use cloud-to-cloud comparisons to spot drift. Don’t rely on the software alone—verify a few key areas by hand, especially near structural elements or odd shapes.
Next, compare your point cloud data with actual site conditions. Spot-check dimensions against field measurements or control points. If you're using old drawings, double-check them. Buildings shift, renovations go undocumented, and nothing is truly “as-built” until you confirm it.
Also, make sure your files meet industry standards. Facility managers and engineers expect data that follows Level of Accuracy (LOA) guidelines, like those from USIBD. If you're delivering a model, confirm the level of detail (LOD) matches what was agreed. Missed expectations here can cause delays and extra costs.
Bottom line: validation turns a scan into something people can trust. Don’t skip it.
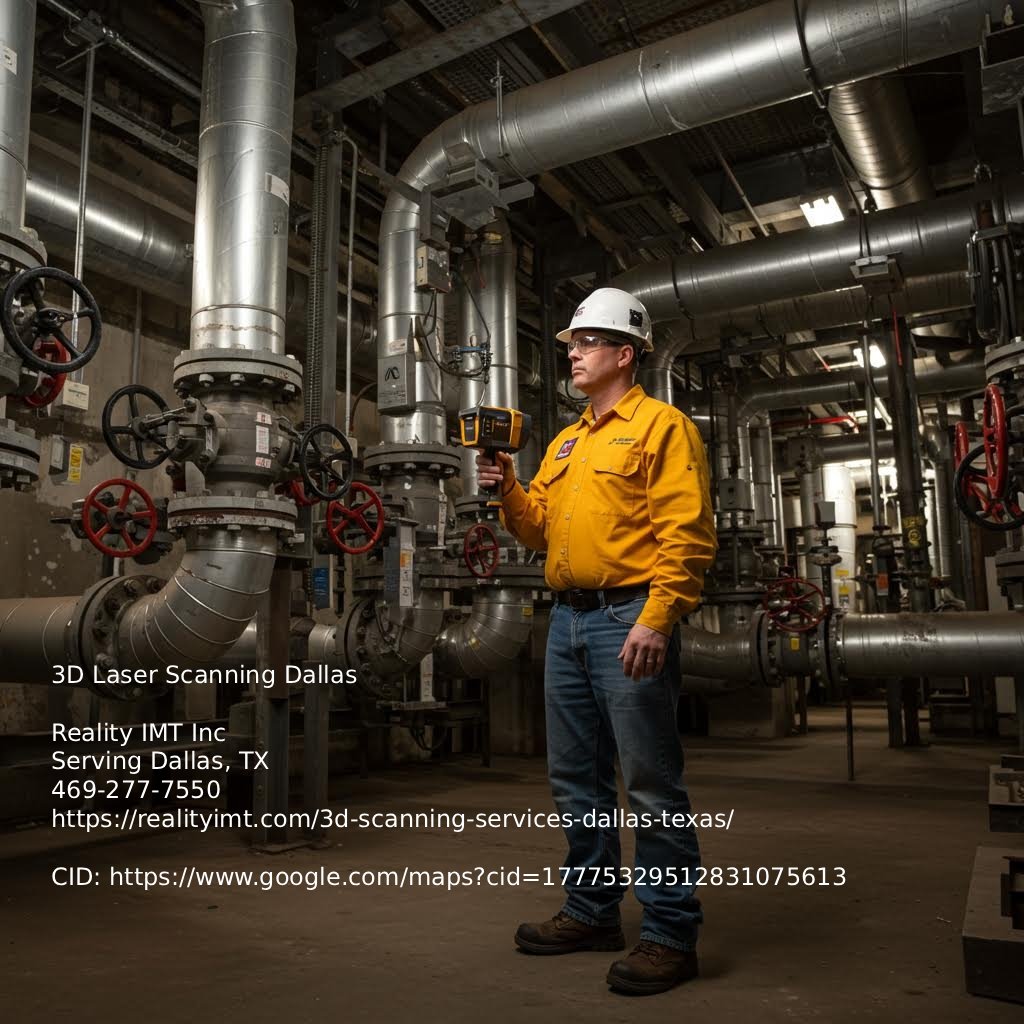
Accurate 3D laser scanning helps commercial projects, especially when working with older buildings that lack reliable drawings. In Dallas, many properties are decades old and have seen multiple renovations. Up-to-date as-built data keeps coordination between trades on track.
Take MEP systems. If you’re adding ductwork or rerouting plumbing in a crowded ceiling, you need to know what’s already there. Scans show that—down to millimeters. This accuracy helps catch clashes before fabrication or installation. Skip it, and you risk delays, changes, and wasted material.
For prefabrication, scans give fabricators the confidence to build offsite, knowing parts will fit. That cuts on-site labor and limits surprises. Planning a renovation? Scans let architects and engineers model around what’s really there. You don’t want to find out mid-project that a beam is two feet off.
Scan data also supports building operations. Facility managers can use it for maintenance, space planning, or upgrades. Whether you're managing several buildings or just one office in Dallas, current scan data saves time and avoids guesswork. It helps long after design is done.
Before scanning a commercial space, especially in a city like Dallas with tight timelines and budgets, you need a plan. A checklist helps prevent missed data, coverage gaps, and wasted time. Let’s break it down.
Accurate as-builts need more than just scanning. They rely on planning and coordination. This checklist helps keep your project on track.
In Dallas, teams often use 3D laser scanning before renovations, tenant fit-outs, or mechanical upgrades. It’s quick, accurate, and gives a full view of current conditions—without relying on old drawings or manual measurements. Let’s break it down.
First, scan time. A 20,000-square-foot office floor usually takes less than a day. Bigger or more complex spaces—like high ceilings, multi-level mechanical rooms, or tight crawl spaces—can take longer. Clear access helps. If you can move furniture or schedule off-hours entry, things go faster.
Next: what you get. Most teams ask for point clouds and 2D floor plans. Some want full Revit models with structural, architectural, and MEP details. If you’re passing it to an architect or engineer, ask what format and detail they need. That avoids delays.
Cost varies by size, detail, and output. Basic scans and plans range from $0.25 to $0.75 per square foot. More detailed models cost more. Skipping scanning can lead to bigger expenses later—like fixing misaligned walls or missing ductwork during construction.
Last, long-term use. The point cloud data stays useful. Facility managers use it years later for HVAC updates or layout changes. It’s a one-time capture that keeps helping—if stored and documented well. Ask your scanning provider how they handle storage and access.
If you're working on a commercial building in Dallas—whether it's a renovation, tenant improvement, or full retrofit—you need accurate data from the start. 3D laser scanning gives you that. It captures the exact spatial conditions of your building, down to the millimeter. That means less guesswork, fewer change orders, and smoother design and construction. But only if it's done right.
For commercial offices, warehouses, or mixed-use spaces, scanning isn't one-size-fits-all. Ceiling height, MEP complexity, and structural layout all affect how the scan should go. So, before you move ahead, talk to someone who knows how to match the scanning process to your building. In Dallas, that means working with local scanning pros who understand regional construction and permitting. It's not just about owning a scanner. It's about knowing how to use it.
We’ve seen what happens when teams skip this step. Scans done too fast or without planning can miss key areas—above-ceiling spaces, mechanical chases, or offset walls that don’t show up right away. That leaves gaps in the point cloud, which throws off your models. And once construction starts, fixing those errors costs more than doing it right the first time.
Whether you're an architect planning a reconfiguration or a facility manager updating MEP systems, have someone walk the site and talk through your goals before scanning starts. That helps you avoid surprises and get documentation your team can actually use.